2 June 2007
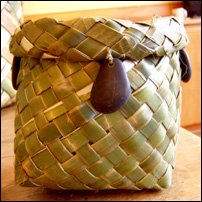
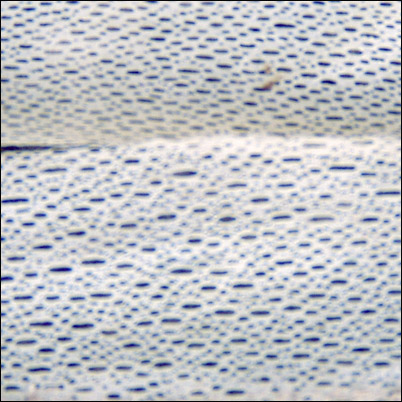 Have you ever wondered where the lacebark tree — a tree with bark that doesn’t look lacey at all — got its name? The answer lies in the layer that is directly underneath the bark, which is the part of the tree that carries the sap. This inner layer of bark in a lacebark tree, or hoheria, and also in the ribbonwood, or manatu, is made up of layers of very thin white strips with many tiny holes that give it a lace-like appearance. These beautiful strips have traditionally been used by Māori for weaving small fine decorative baskets as well as a material for cloaks.
 I was recently shown how to harvest the bark on a fallen tree. I’m told bark can also be harvested on a living tree. Ideally, only a small portion of the circumference of the tree is stripped — maybe something like a fifth or a sixth of the circumference — on the north side of the tree on a hot fine day in summer. Apparently, the tree will tolerate this degree of stripping, and can be harvested again in a couple of years’ time.
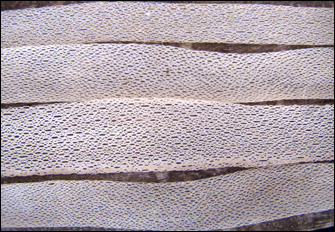
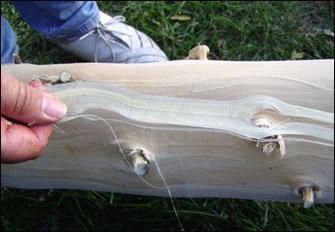 To get the bark off the trunk, two small vertical cuts are made in the bark and a knife pushed between the core wood and lace bark to start easing it away from the wood. The bark is then pulled up carefully from the tree trunk in a long strip. These strips of bark and inner bark are soaked in water for a few days, which is changed each day, until the inner lace bark starts peeling away from the outer bark and separating out into strips. On the fallen tree the bark can be stripped right down to the core wood although on a living tree the bark is only stripped partially down to the core wood.
When the lace bark dries it is quite stiff but it will soften again when dampened. It can then be formed into the shape you want, and if it is held in that shape while it dries, it will retain the shape. I’ve played around with it and love the way it can be shaped into soft lacy curls.
Can anyone add any further wisdom on harvesting the bark of lacebark or ribbonwood? Is there something I haven’t mentioned? I’ve searched in books and looked on the internet, but can’t find anyone who has written on this topic, and my own knowledge and experience on the topic is very limited.
© Ali Brown 2007.
Scroll down to leave a new comment or view recent comments.
Also, check out earlier comments received on this blog post when it was hosted on my original website.
 I happily accepted an invitation to fly down to Queenstown and take a two-day flax weaving workshop for the local Art Society, and we made several different flowers, a small kete with a plaited fibre handle, a large container, and a square box. Creativity took over when some of the participants decided to convert the square boxes to bowls with rolled edges half-way through weaving them, a style inspired by the flax bowl that I presented to my hostess as a thank-you gift.
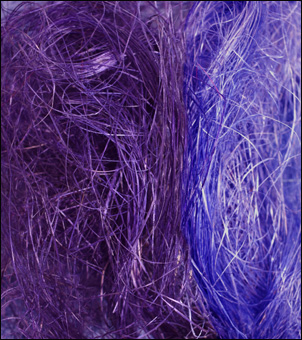 On the second day of the workshop, I filled a large pot with boiling water, stirred in the red dye and then the fibre. Whoops! The fibre turned bright hot pink, not a popular colour! With the addition of some of the purple dye, it changed to a vibrant midnight blue-purple, much more acceptable. A second pot was used to dye a hank of fibre purple and then a hank was dyed with an end of it in each pot. The final two hanks dyed to a lighter colour as the dye was beginning to get used up. Each student ended up with a mixed bundle of all the coloured fibre — which could used for plaited handles or other weaving.
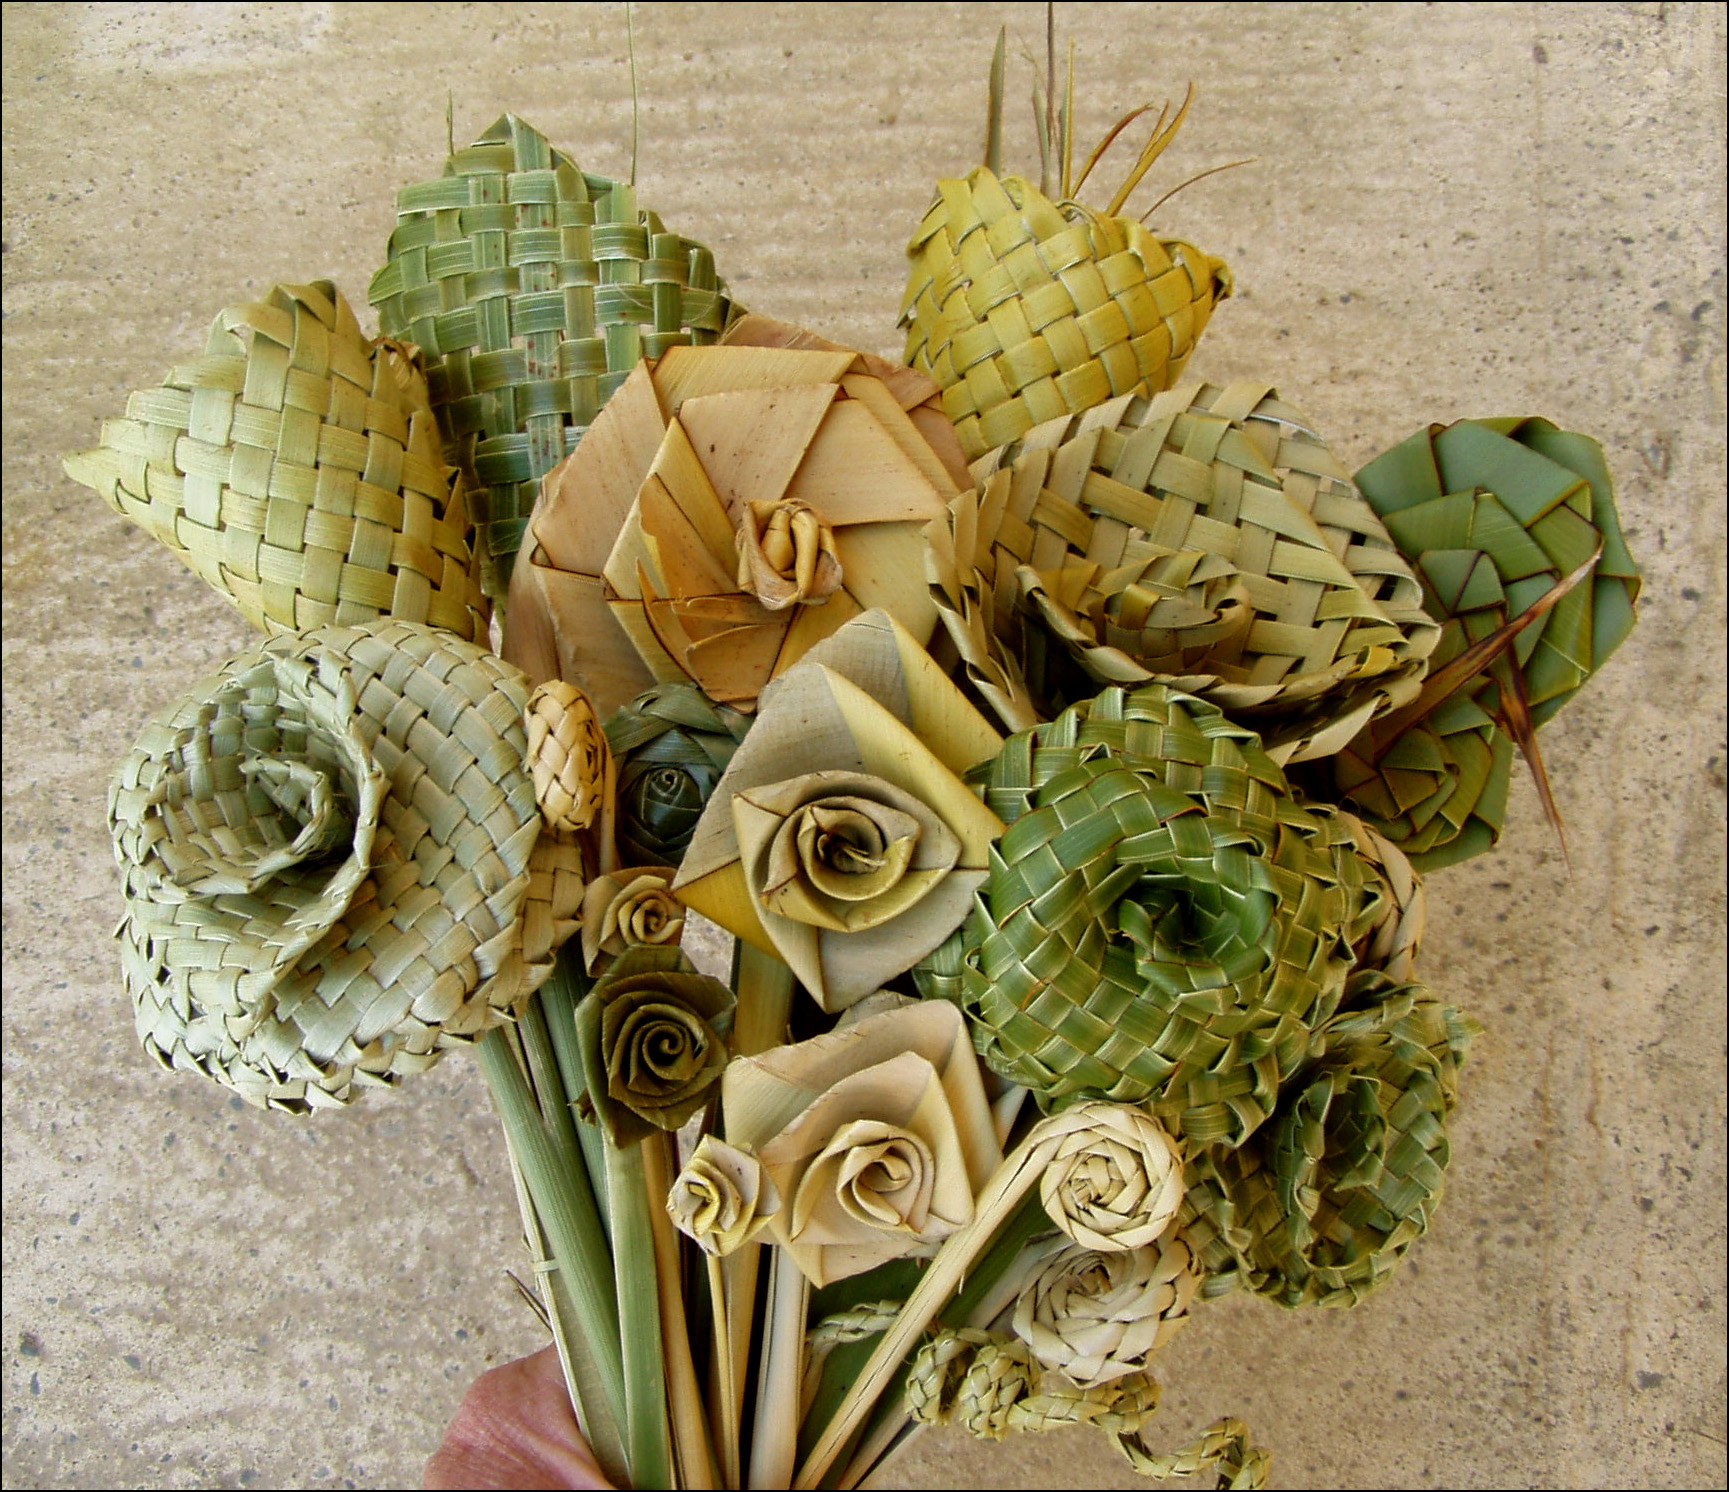 A lot of the one-off flax weaving workshops I get invited to run involve some kind of unique challenge. This was certainly the case for the art project I was invited to co-ordinate for this year’s national conference of the OSCAR Foundation, an organisation that runs out-of-school activity programmes for Primary School children throughout New Zealand. OSCAR conferences always involve an art project to be displayed at their national office — the one conference activity that every delegate can contribute to.